
Ranger is a framework to enable, monitor and manage data security in Hadoop cluster. The service comes from Hortonworks and is a part of Apache family now.
This post describes how Ranger 0.5.0 is installed and configured with audit data stored in a database. Default setting is Solr, my cluster does not have Solr, but it has a MySql database.
My Hadoop distribution is Hortonworks and versions mentioned in this post are 2.3.4 and 2.5.
Database preparation
Install MySql
(If not installed yet)
sudo apt-get install mysql-server -y
Set up Ranger database
Note for HDP 2.3.4!
Ranger database has to be created manually otherwise the installation will not go through. If you are using HDP 2.5, this is done through Ambari Add Service Wizard. Move on to “Adding Service in Ambari”.
create database ranger;
CREATE USER 'ranger'@'localhost' IDENTIFIED BY 'ranger';
GRANT ALL PRIVILEGES ON *.* TO 'ranger'@'localhost';
CREATE USER 'ranger'@'%' IDENTIFIED BY 'ranger';
GRANT ALL PRIVILEGES ON *.* TO 'ranger'@'%';
GRANT ALL PRIVILEGES ON *.* TO 'ranger'@'localhost' WITH GRANT OPTION;
GRANT ALL PRIVILEGES ON *.* TO 'ranger'@'%' WITH GRANT OPTION;
If the MySql database is on another server than Ranger, check from RANGER_SERVER if you can log in to the database
mysql -u ranger -pranger -h MYSQL_SERVER
Adding Service in Ambari
Start Add Service Wizard and choose service Ranger

Some requirements have to be fulfilled.

Check if MySql Java Connector is present on Ambari Server
ls /usr/share/java/mysql-connector-java.jar
Run the following on Ambari Server if the file is present
sudo ambari-server setup --jdbc-db=mysql --jdbc-driver=/usr/share/java/mysql-connector-java.jar
Output:
Using python  /usr/bin/python
Setup ambari-server
Copying /usr/share/java/mysql-connector-java.jar to /var/lib/ambari-server/resources
If you are updating existing jdbc driver jar for mysql with mysql-connector-java.jar. Please remove the old driver jar, from all hosts. Restarting services that need the driver, will automatically copy the new jar to the hosts.
JDBC driver was successfully initialized.
Ambari Server 'setup' completed successfully.
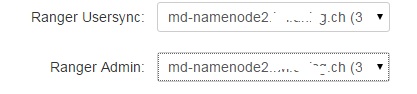
Assign masters for both Ranger services. In this case, the services are installed on the NameNode.
Choose DB flavor, tye in ranger DB host and ranger password (same as in the script from the previous chapter)

Type password for root user and test the connection.

If the MySql database is on another server, user has to be created and grants for root from Ranger server have to be granted.
CREATE USER 'root'@'RANGER_SERVER' IDENTIFIED BY 'root';
GRANT RELOAD ON *.* TO 'root'@'RANGER_SERVER';
GRANT ALL PRIVILEGES ON mysql.* TO 'root'@'RANGER_SERVER';
GRANT ALL PRIVILEGES ON ranger.* TO 'root'@'RANGER_SERVER' WITH GRANT OPTION;
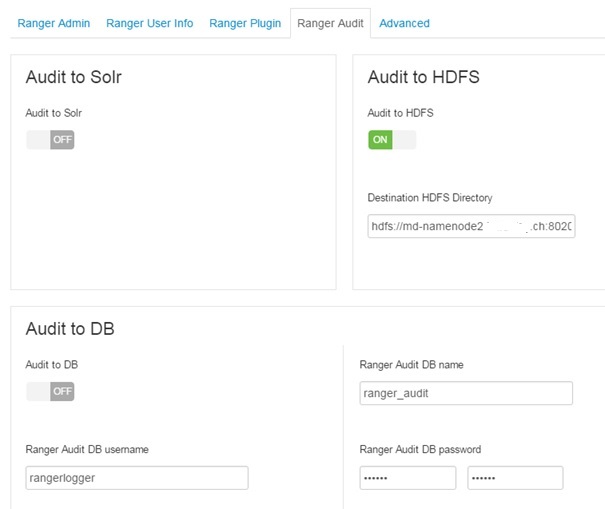
In the Audit tab:
– switch off Audit to Solr
– switch on Audit to HDFS
– switch on Audit to DB and type in password for Ranger Audit user. (HDP 2.3.4)
HDP 2.5: Audit to DB is not an option anymore.
Ranger is now installed and can be accessed on the RANGER_SERVER:6080.
Note: the Ranger WEB UI not showing up?
Make sure port 6080 is open.
If the URL is an internal IP address read on:
External URL has to be corrected to ranger host. Authentication in this example is UNIX.
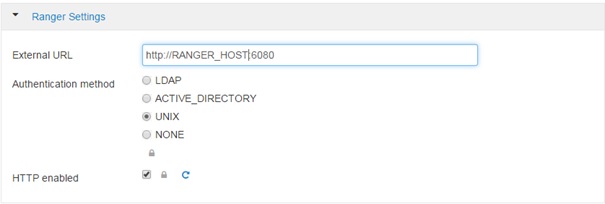
Continue to the next step.
Review of the installation follows, if everything is ok, start with the Install, Start and Test.
